What you’ll build
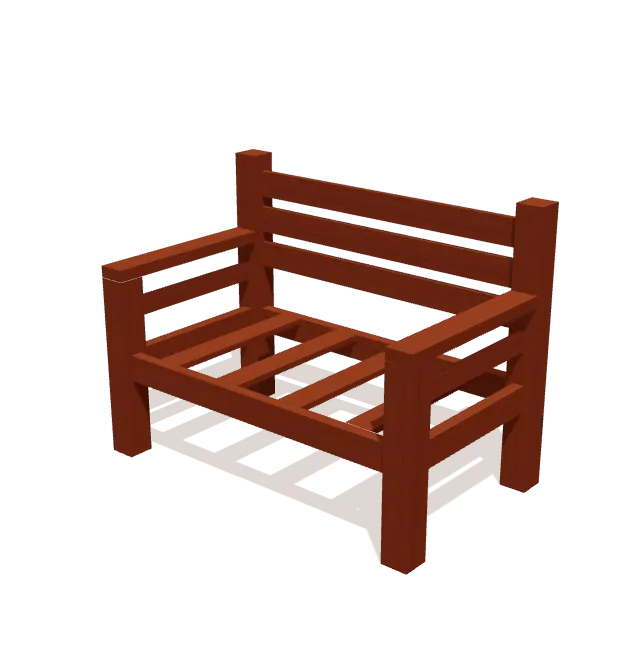
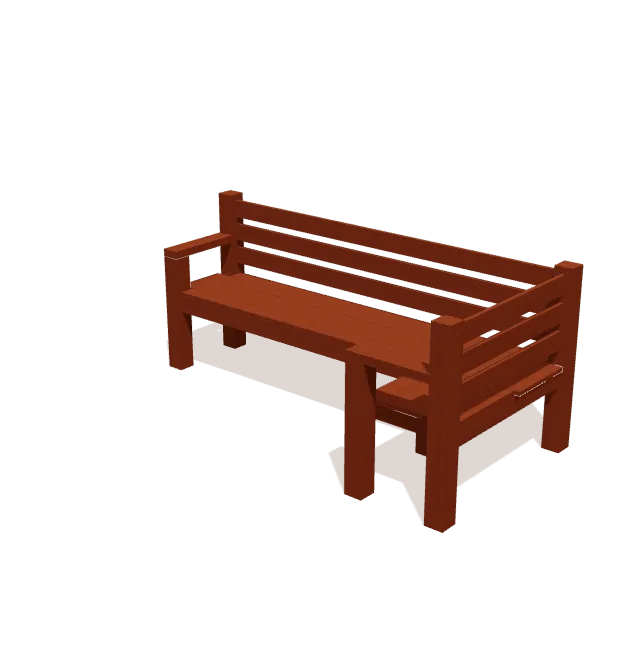
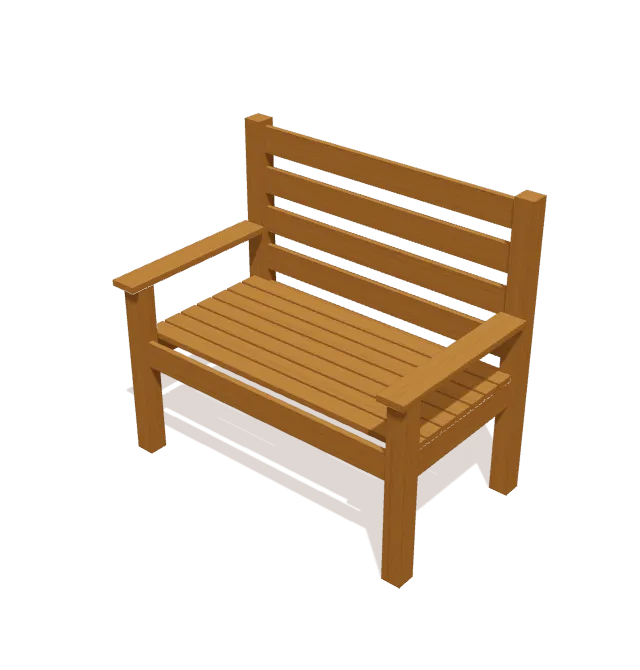
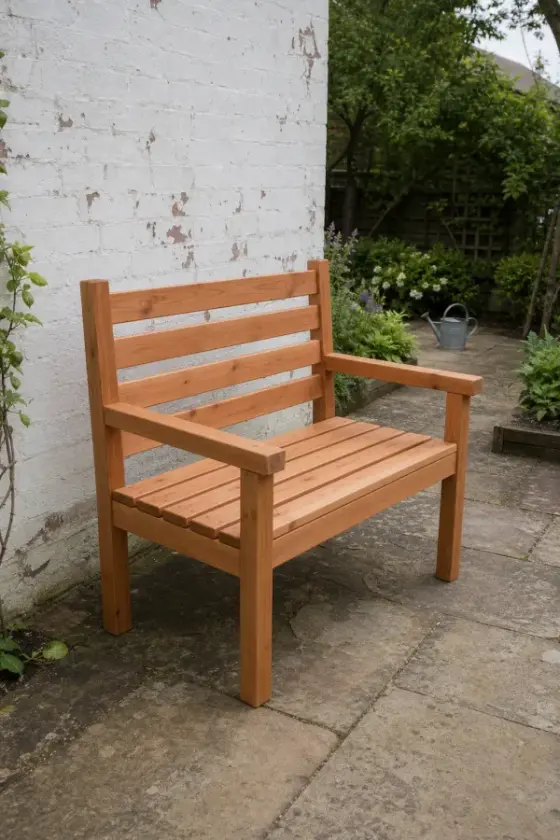
Tall 3x3 rear legs carry the backrest; shorter 3x3 front legs carry the armrests. A 1x4 seat rail joins each pair of legs, two 1x4 side rails connect the front and back frames, four 1x4 slats form the backrest, and seven 1x3 slats make the seat. Every cut is square.
Shopping list
Buy these boards. The list fits every cut onto standard lengths and leaves ⅛″ for each saw cut and ¼″ for trimming board ends.
| Lumber | Length | Qty |
|---|---|---|
| 1x4 | 8 ft | 4 |
| 1x3 | 8 ft | 4 |
| 3x3 | Cut to length | 4 |
Cut list
Every part, grouped so you can cut matching pieces together. Sizes are actual dimensions (a 1x4 is ¾″ × 3½″). Check them against your own boards before cutting.
| Part | Lumber | Section | Length | Qty | End cut |
|---|---|---|---|---|---|
| Slat | 1x3 | ¾″ × 2 ½″ | 40 ¾″ | 7 | Square |
| Rail / Slat | 1x4 | ¾″ × 3 ½″ | 37 ½″ | 6 | Square |
| Front Leg | 3x3 | 2 ½″ × 2 ½″ | 24″ | 2 | Square |
| Rear Back Leg | 3x3 | 2 ½″ × 2 ½″ | 39″ | 2 | Square |
| Rail | 1x4 | ¾″ × 3 ½″ | 19 ½″ | 2 | Square |
| Armrest | 1x4 | ¾″ × 3 ½″ | 23 ¼″ | 2 | Square |
Tools
- Tape measure
- Pencil
- Speed square
- Eye & ear protection
- Drill
- Miter saw
- Clamps
- Sander
Step-by-step instructions
Assemble the Rear Frame
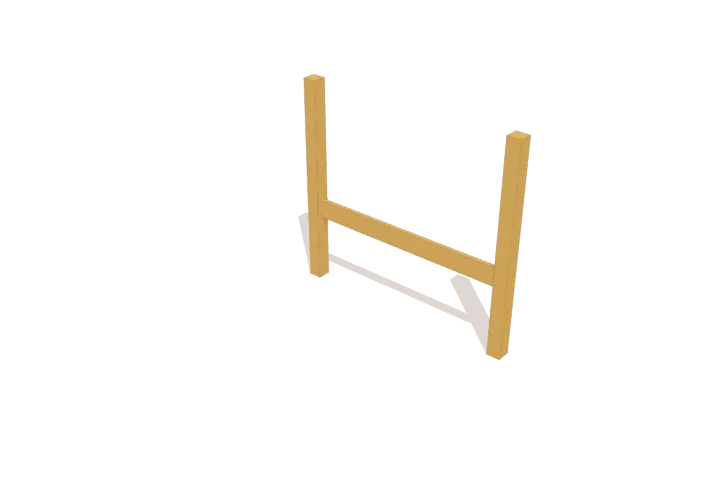
Lay the two 39-inch rear posts flat on a work table. Place the 37 1/2-inch rear seat rail between the posts, aligning its bottom edge flush with your layout marks, and clamp the pieces firmly.
Install Backrest Slats
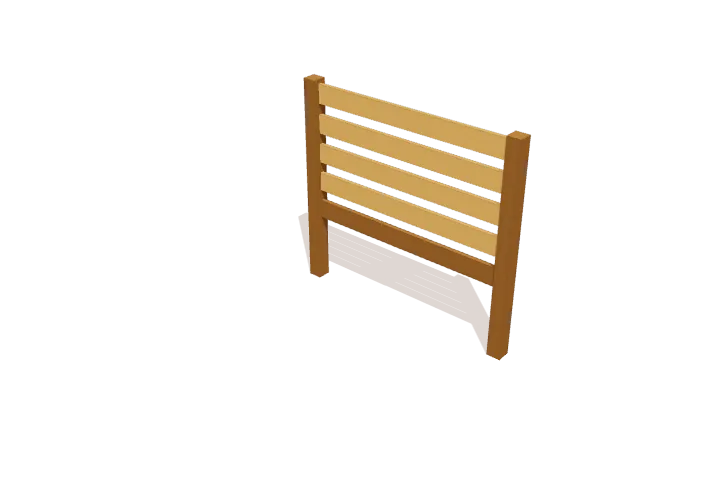
Fit the four 37 1/2-inch backrest slats between the rear posts above the seat rail. Align the front faces flush with the post surfaces and clamp them securely in place.
Assemble the Front Frame
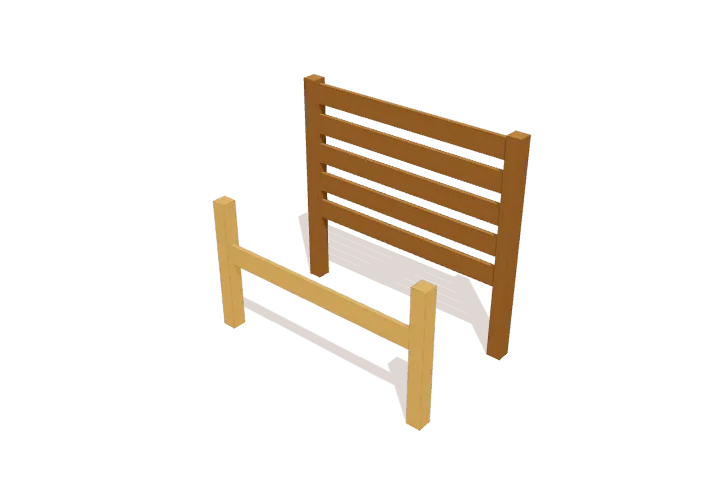
Lay the two 24-inch front legs flat on the workbench. Position the 37 1/2-inch front seat rail between the inner faces of the legs, matching the rear rail height, and clamp the assembly square.
Connect Side Seat Rails
Stand the front and rear assemblies upright on a level floor. Fit the two 19 1/2-inch side seat rails between the front and rear posts, aligning their edges flush with the front and rear rails.
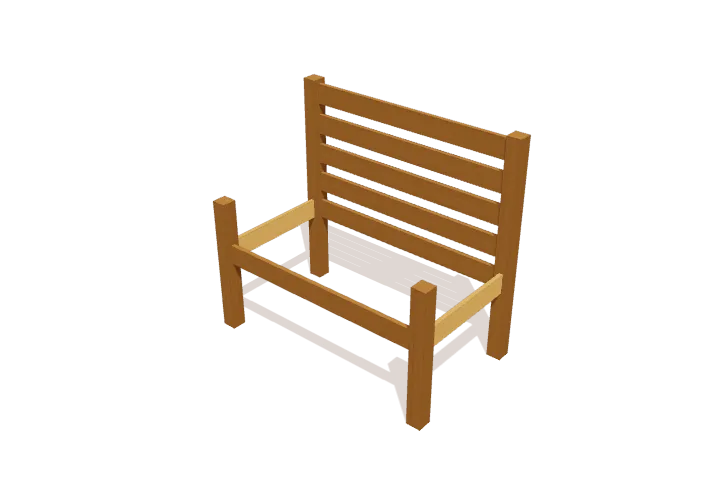
Mount Armrests
Set the two 23 1/4-inch armrests on top of the front legs with their back ends butted squarely against the tall rear posts. Center the overhang across each front post and clamp them down.
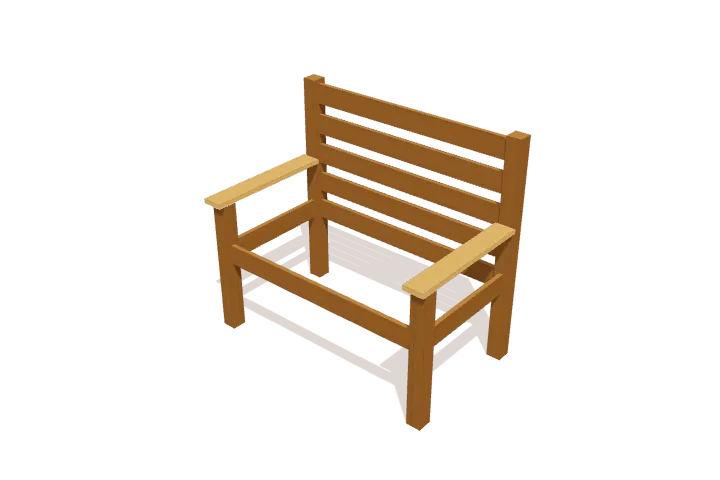
Lay Seat Slats
Place the seven 40 3/4-inch seat slats across the side rails from back to front. Space the slats evenly with uniform gaps and confirm equal side reveals along both ends.
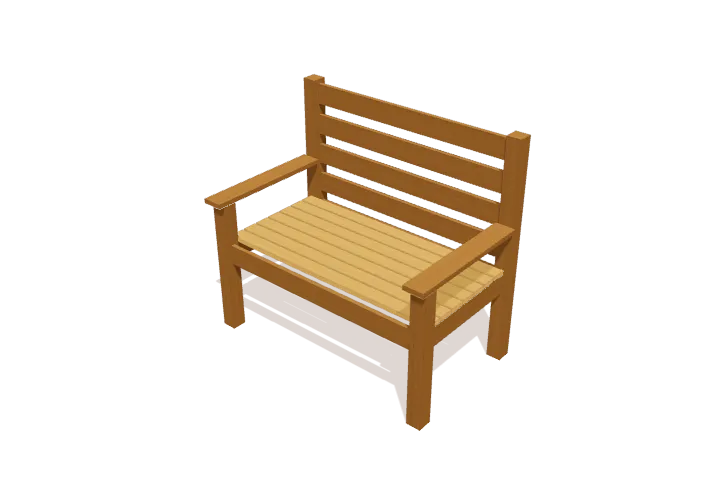
For outdoor use, choose a rot-resistant or pressure-treated lumber (rated for ground contact where wood touches soil) and exterior-rated screws. Seal the end grain, build on level ground, and check the joints each season.
Change the size or design
This plan is one of the projects in the TimberLab app’s catalog. In the app you can turn the model in 3D, follow the assembly steps one part at a time, and ask for changes in plain words, such as “make it 6 inches shorter” or “add a shelf”. The cut list and shopping list update to match the new design.
Questions about this plan
How much lumber do I need to build this slatted garden bench?
The shopping list calls for 4 × 1x4 at 8 ft; 4 × 1x3 at 8 ft; 4 × 3x3 (cut to length). It groups every cut onto standard board lengths and leaves room for saw cuts and trimming the board ends.
How big is the finished slatted garden bench?
It is 43 ½″ wide, 39″ tall, and 25 ¾″ deep.
What tools do I need?
You need a tape measure, pencil, speed square, eye & ear protection, drill, miter saw, clamps, sander.
Can I change the size of this slatted garden bench?
Yes. Open the slatted garden bench in the TimberLab app and describe the change in plain words, such as “make it 6 inches shorter”. The 3D model, cut list, and shopping list update together.