
Projects, from simplest up
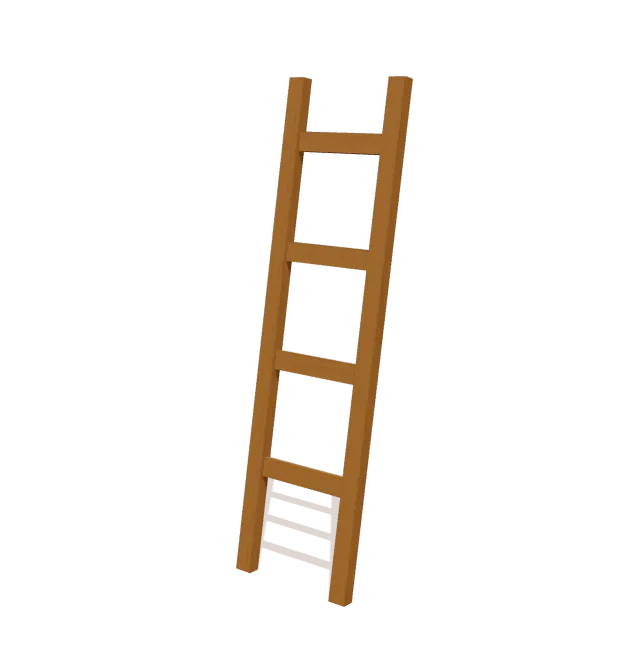
Blanket ladder
A leaning blanket ladder from two 2x3s and one 1x3: four rungs, with angled ends so it rests flat against the wall and floor.
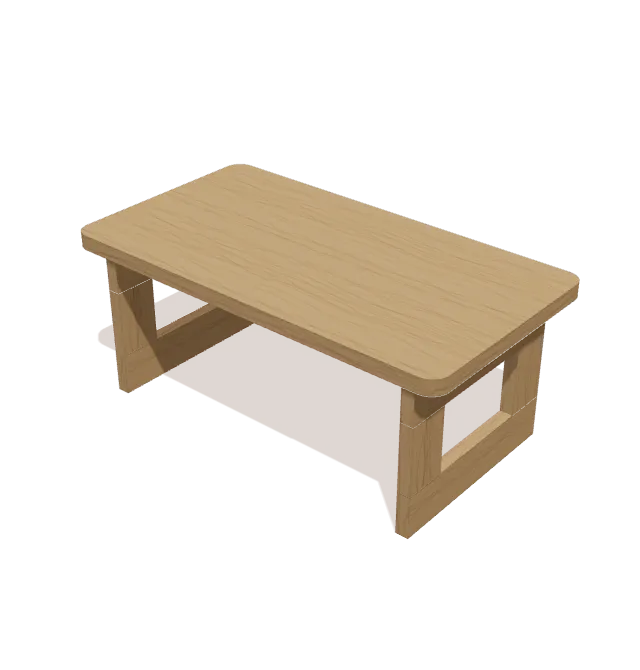
Wooden bed tray
A small breakfast-in-bed tray: a 24″ × 13″ top on two low leg frames cut from a single 1x3.
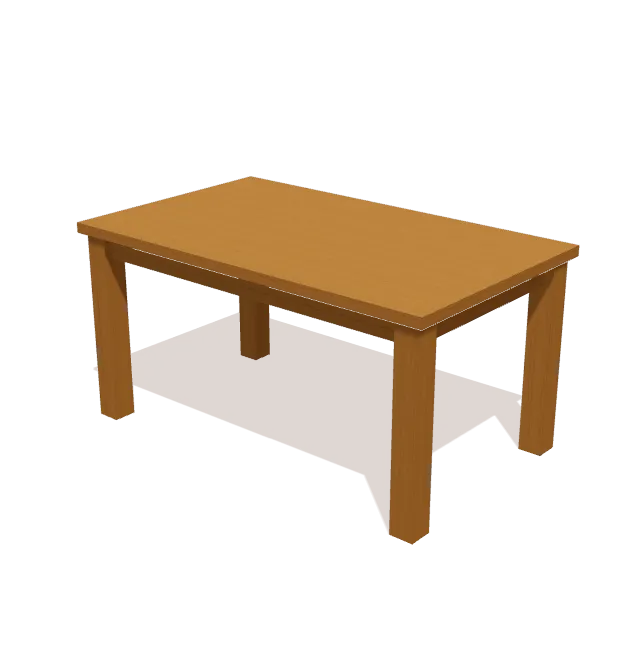
Farmhouse dining table
A simple farmhouse dining table: straight 4x4 legs, a 1x4 apron, and a 60″ × 36″ top, 30″ tall.
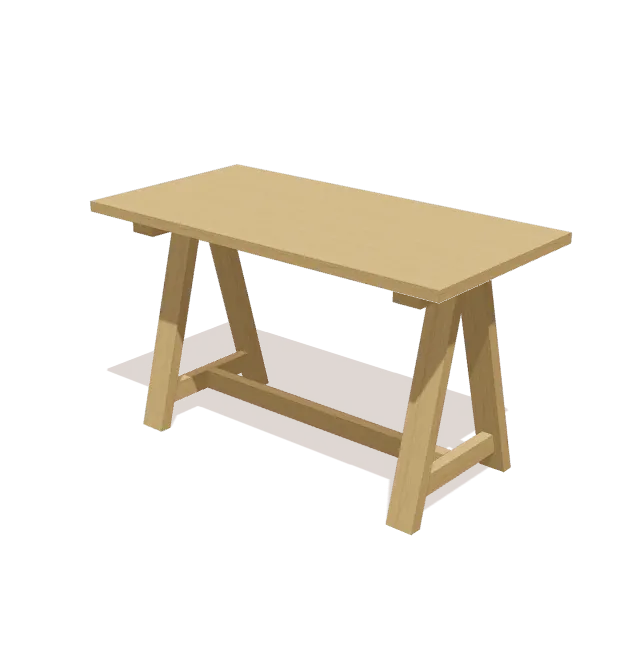
Sawhorse desk
A sturdy desk on two sawhorse-style trestles: splayed 2x4 legs, a center stretcher, and a 52″ × 26″ top.
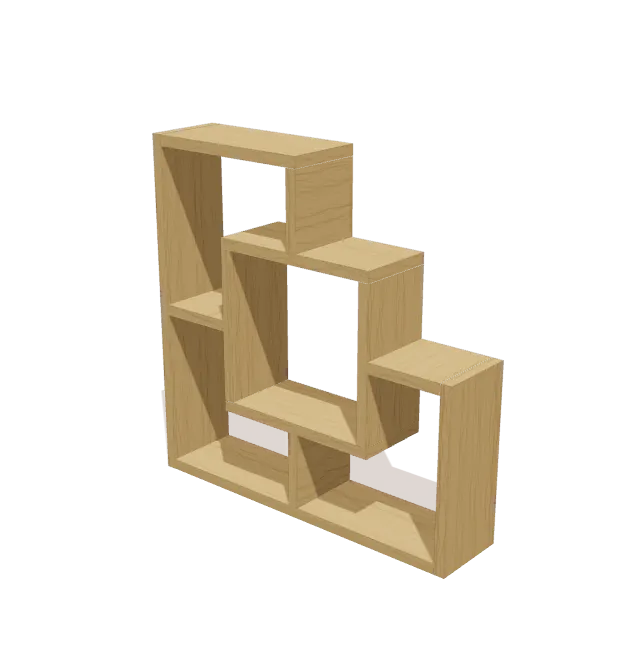
Geometric wall shelf
A 24″ square geometric wall shelf with a central box and offset shelves, all cut from two 8-foot 1x6 boards.
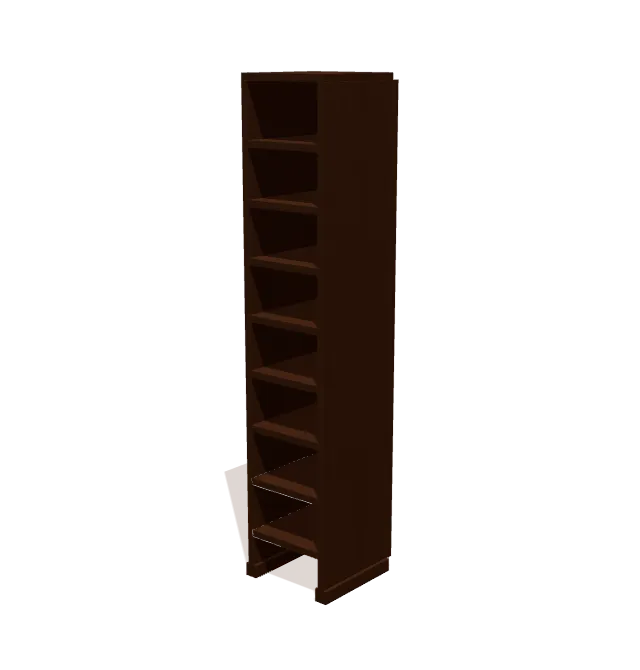
Cubby wine rack
A tall, narrow wine rack with eight cubbies, built from three 1x12 boards and ¾″ plywood shelves.
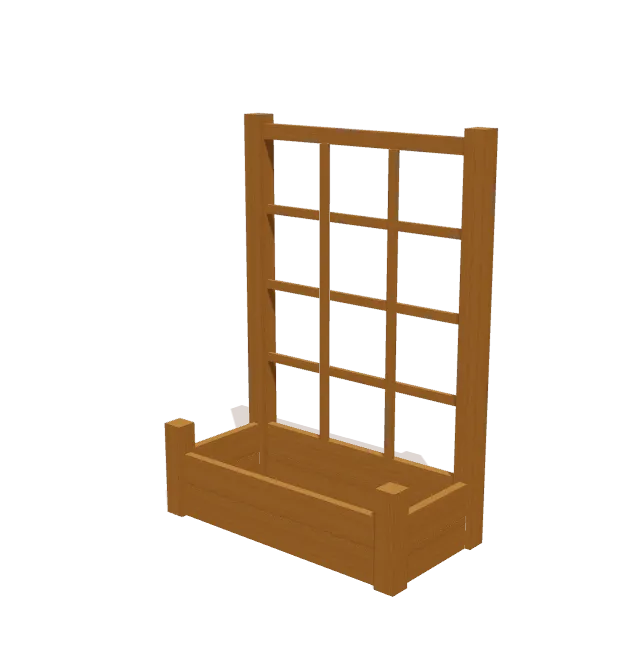
Raised bed with trellis
A 4-foot raised planter with a built-in trellis: tall 4x4 back posts carry a 1x2 grid for climbing plants such as beans, peas, or cucumbers.
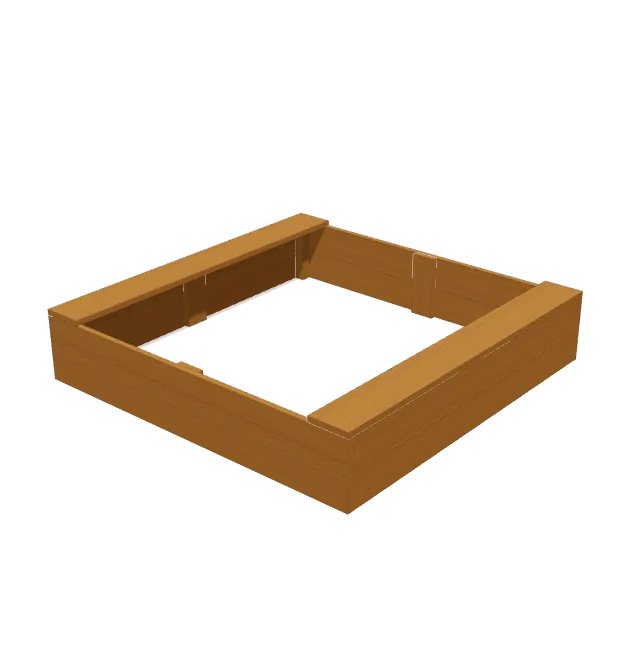
Sandbox with seats
A 4 × 4-foot sandbox with corner cleats and two built-in 1x6 bench seats along the sides.
Box-frame outdoor sofa
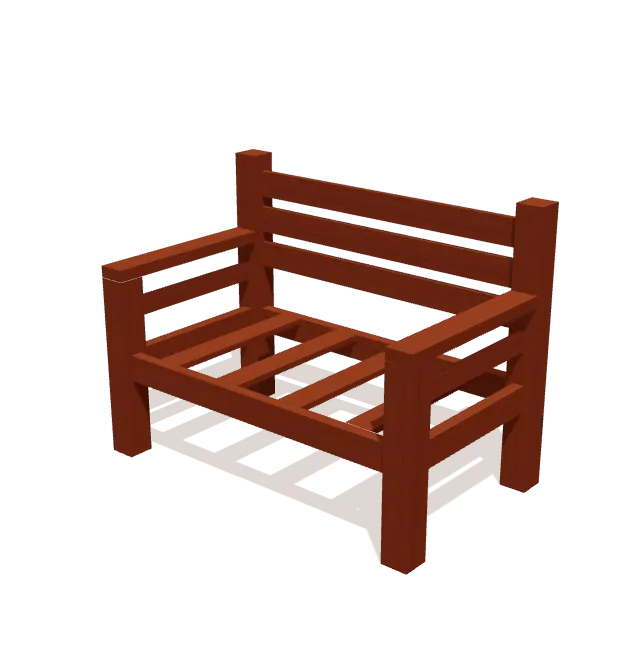
A compact box-frame outdoor sofa, loveseat size at 48″ wide, with 4x4 legs, a slatted back, and wide 2x4 armrests. Add outdoor cushions to finish it.
Raised garden bed
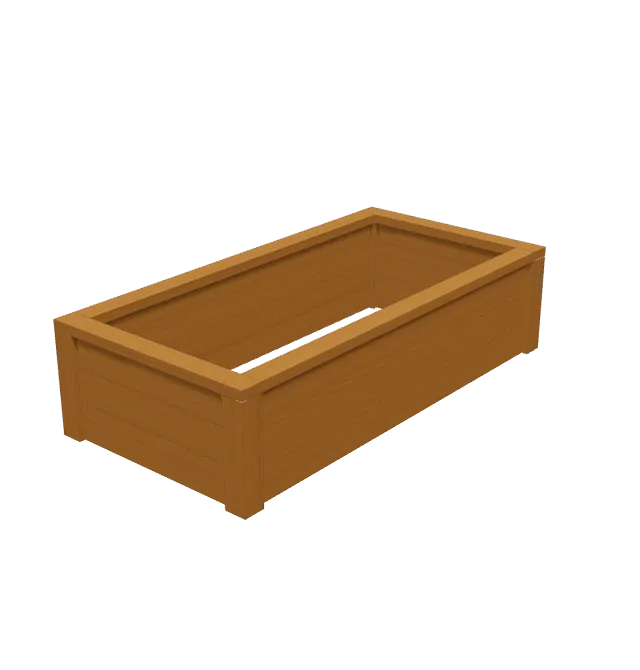
A 3 × 6-foot raised garden bed, three 2x6 boards high, with 4x4 corner posts and a 2x4 cap around the top.
Slatted garden bench
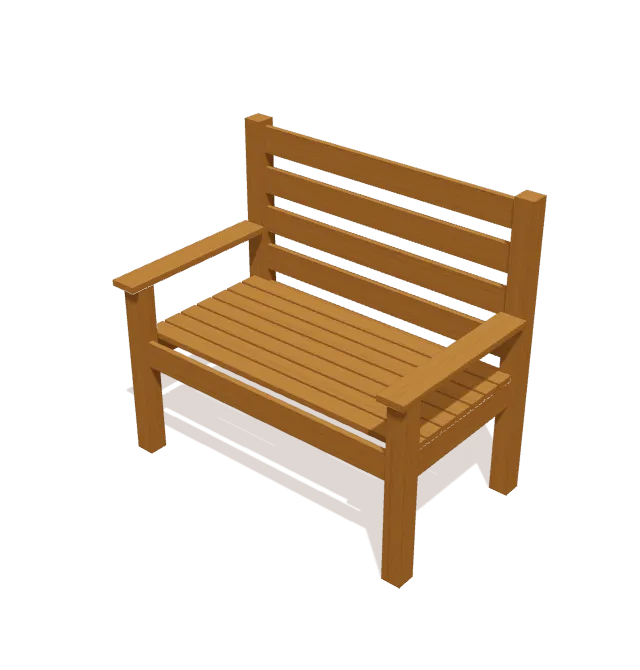
A classic upright garden bench with a slatted seat, a four-slat backrest, and flat armrests.
Potting bench
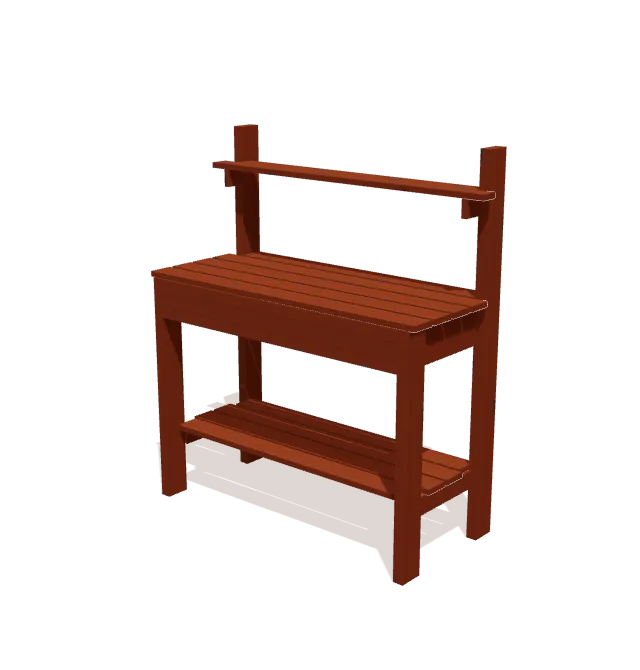
A garden potting bench with a slatted work top, a lower shelf for pots and bags, and a narrow upper shelf on the tall back posts.
Closet organizer
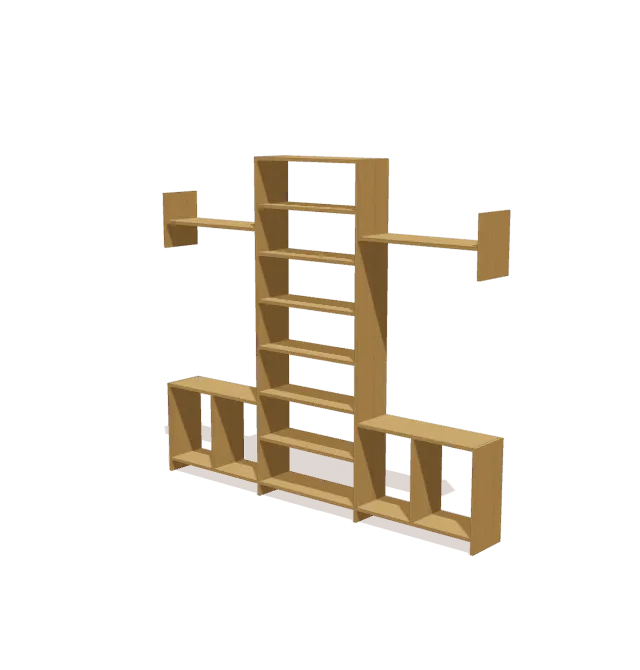
A full-wall closet organizer from eight 1x12 boards: a central 84″ shelf tower between two low shelf units, with an upper shelf on each side.
Straight-leg picnic table
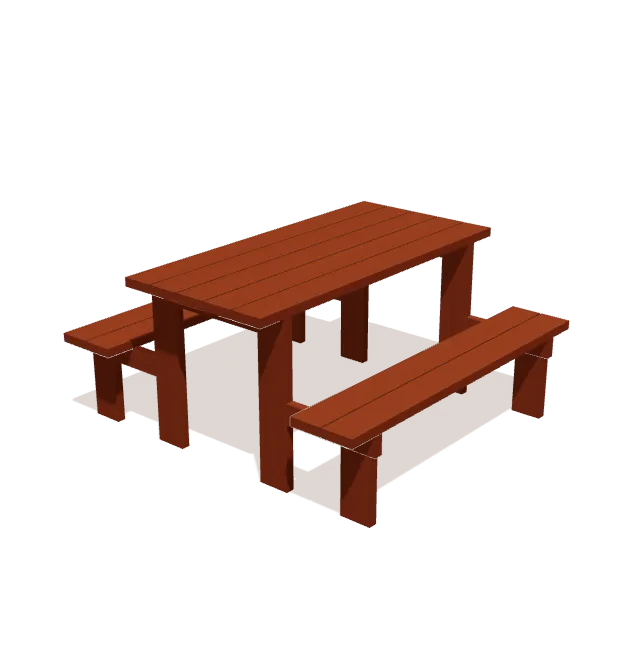
A picnic table with attached benches and straight 2x6 legs, so every cut is square. It takes nine 8-foot 2x6s and two 2x4s.
Garage shelving
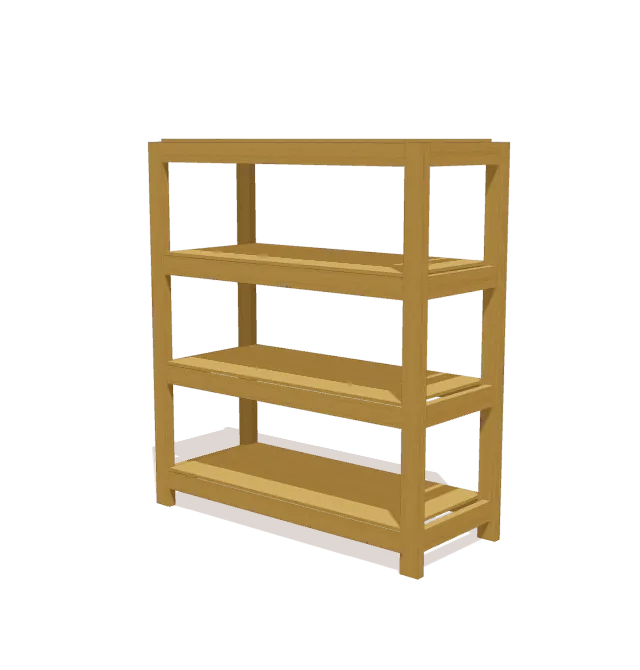
Freestanding four-shelf garage shelving from twelve 2x4s and four ½″ plywood shelves, 5 feet wide and 2 feet deep.
How to pick your first project
- Start with square cuts. Projects without angle cuts only need straight, square crosscuts, which a miter saw or a circular saw guided by a speed square handles well.
- Fewer parts, fewer chances for error. A small parts count means less measuring and a shorter cut list to check.
- Use standard lumber. Most of these plans use common sizes like 1x4, 2x4, and 2x6. Our lumber sizes chart explains why a 2x4 is really 1½″ × 3½″.
- Check the cut list before you buy. Our cut list checklist and cut list calculator help you buy the right number of boards.
Wear eye and ear protection, clamp work before cutting, and keep your hands clear of the blade. Each plan page lists the tools and safety notes for that build.